Proxmox Installation
ℹ️ Duration
Please note that this method can take quite a long time, as the project will be cloned and built in the container.
1. Access the Proxmox UI Console
2. Access the Shell of Your Node
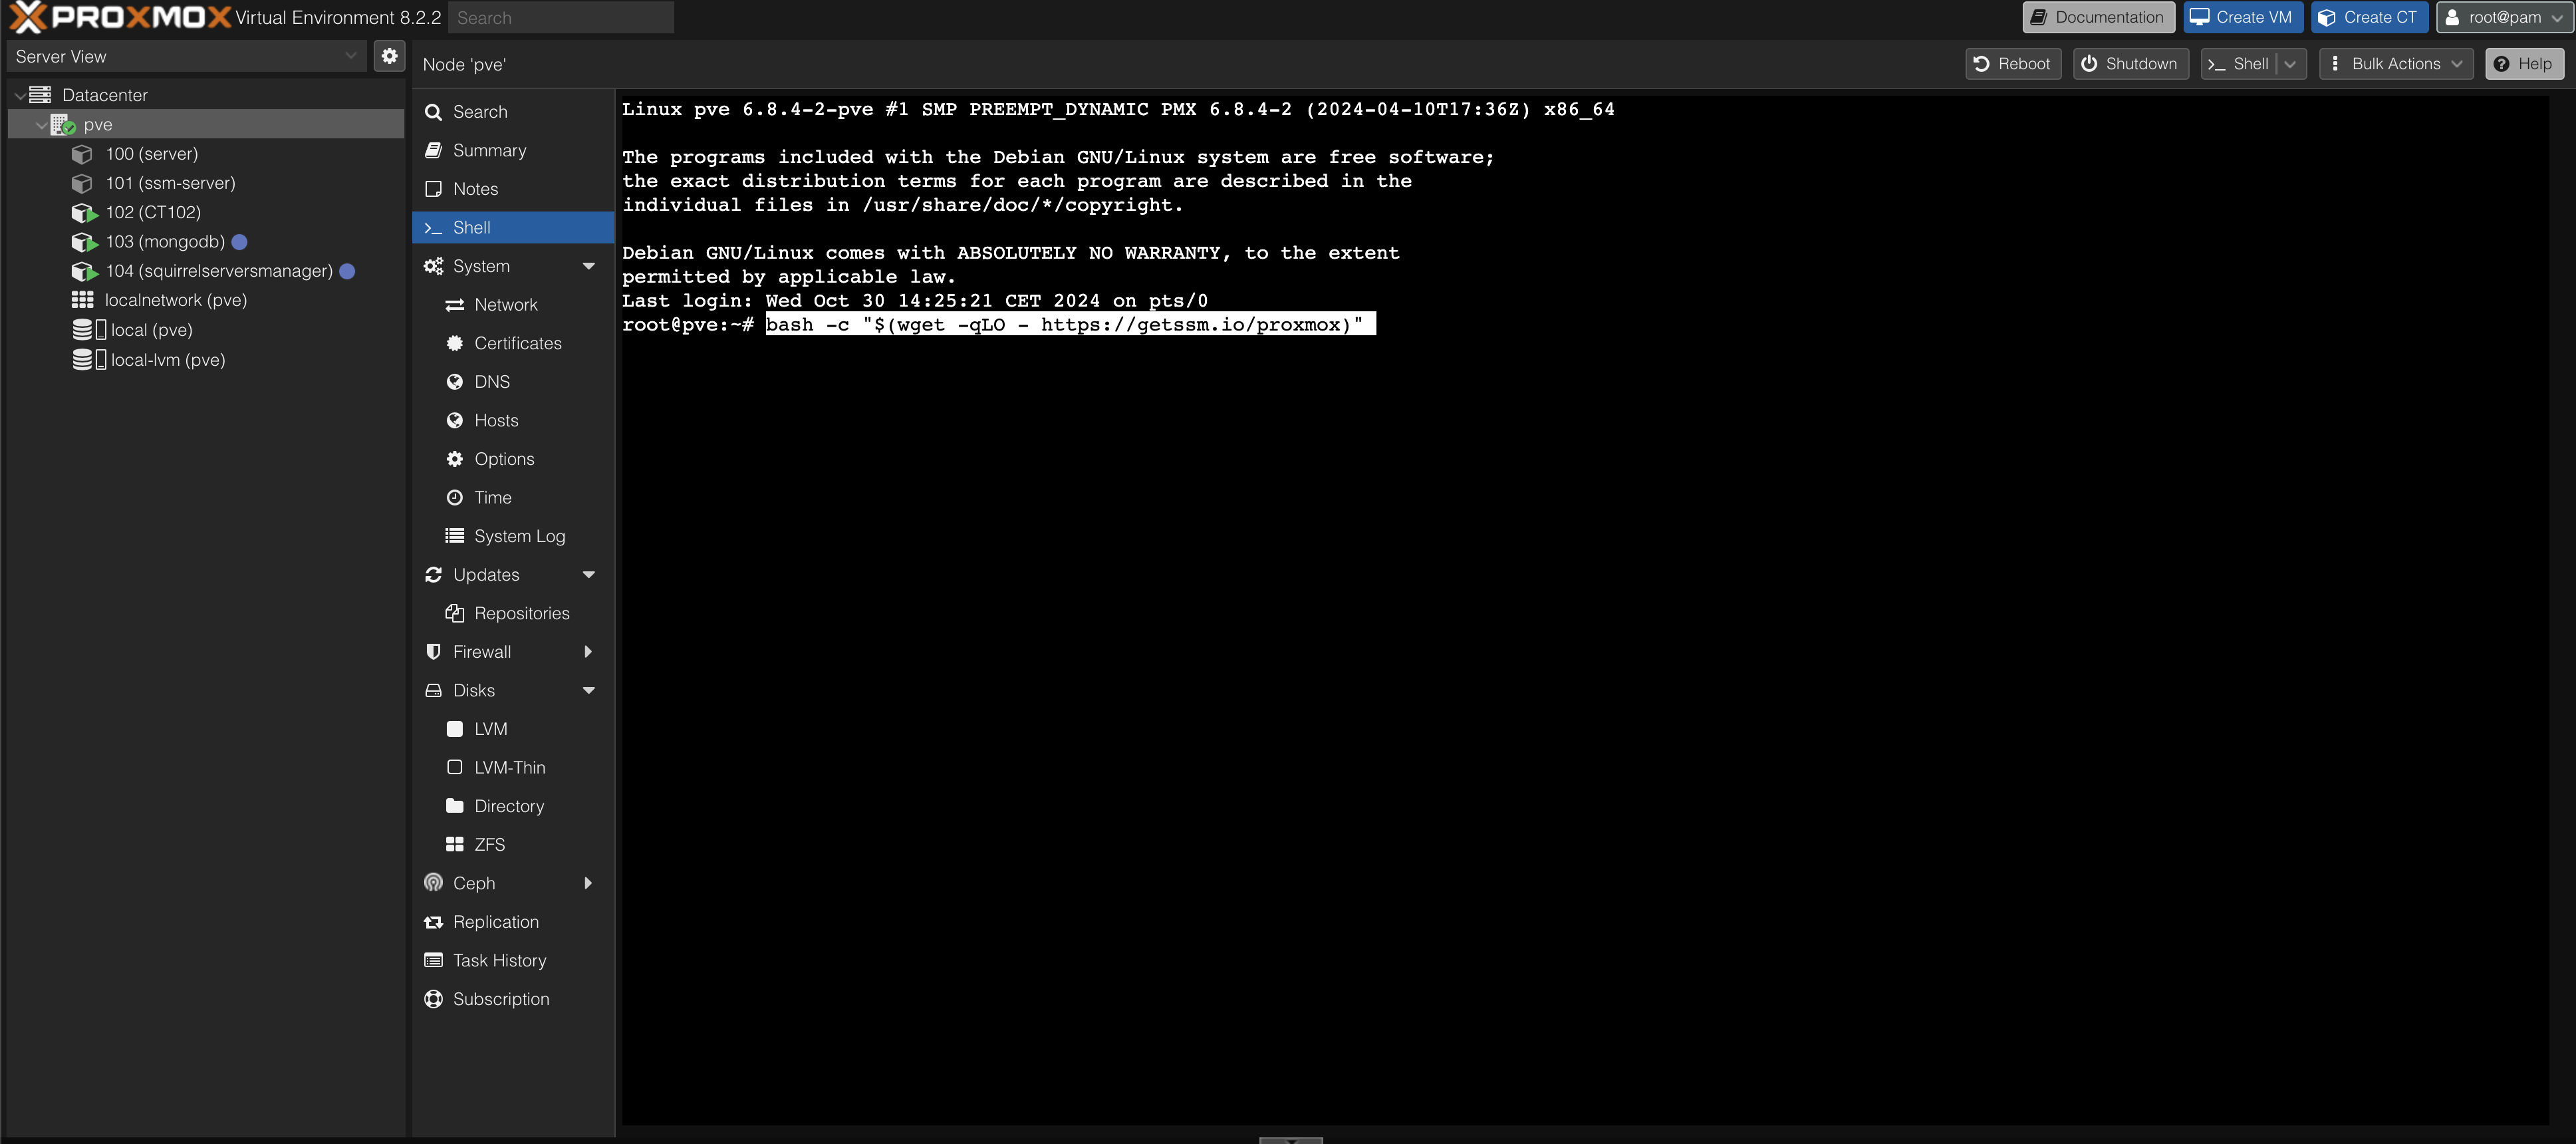
3. Run the Script
shell
bash -c "$(wget -qLO - https://getssm.io/proxmox)"4. You Should See:
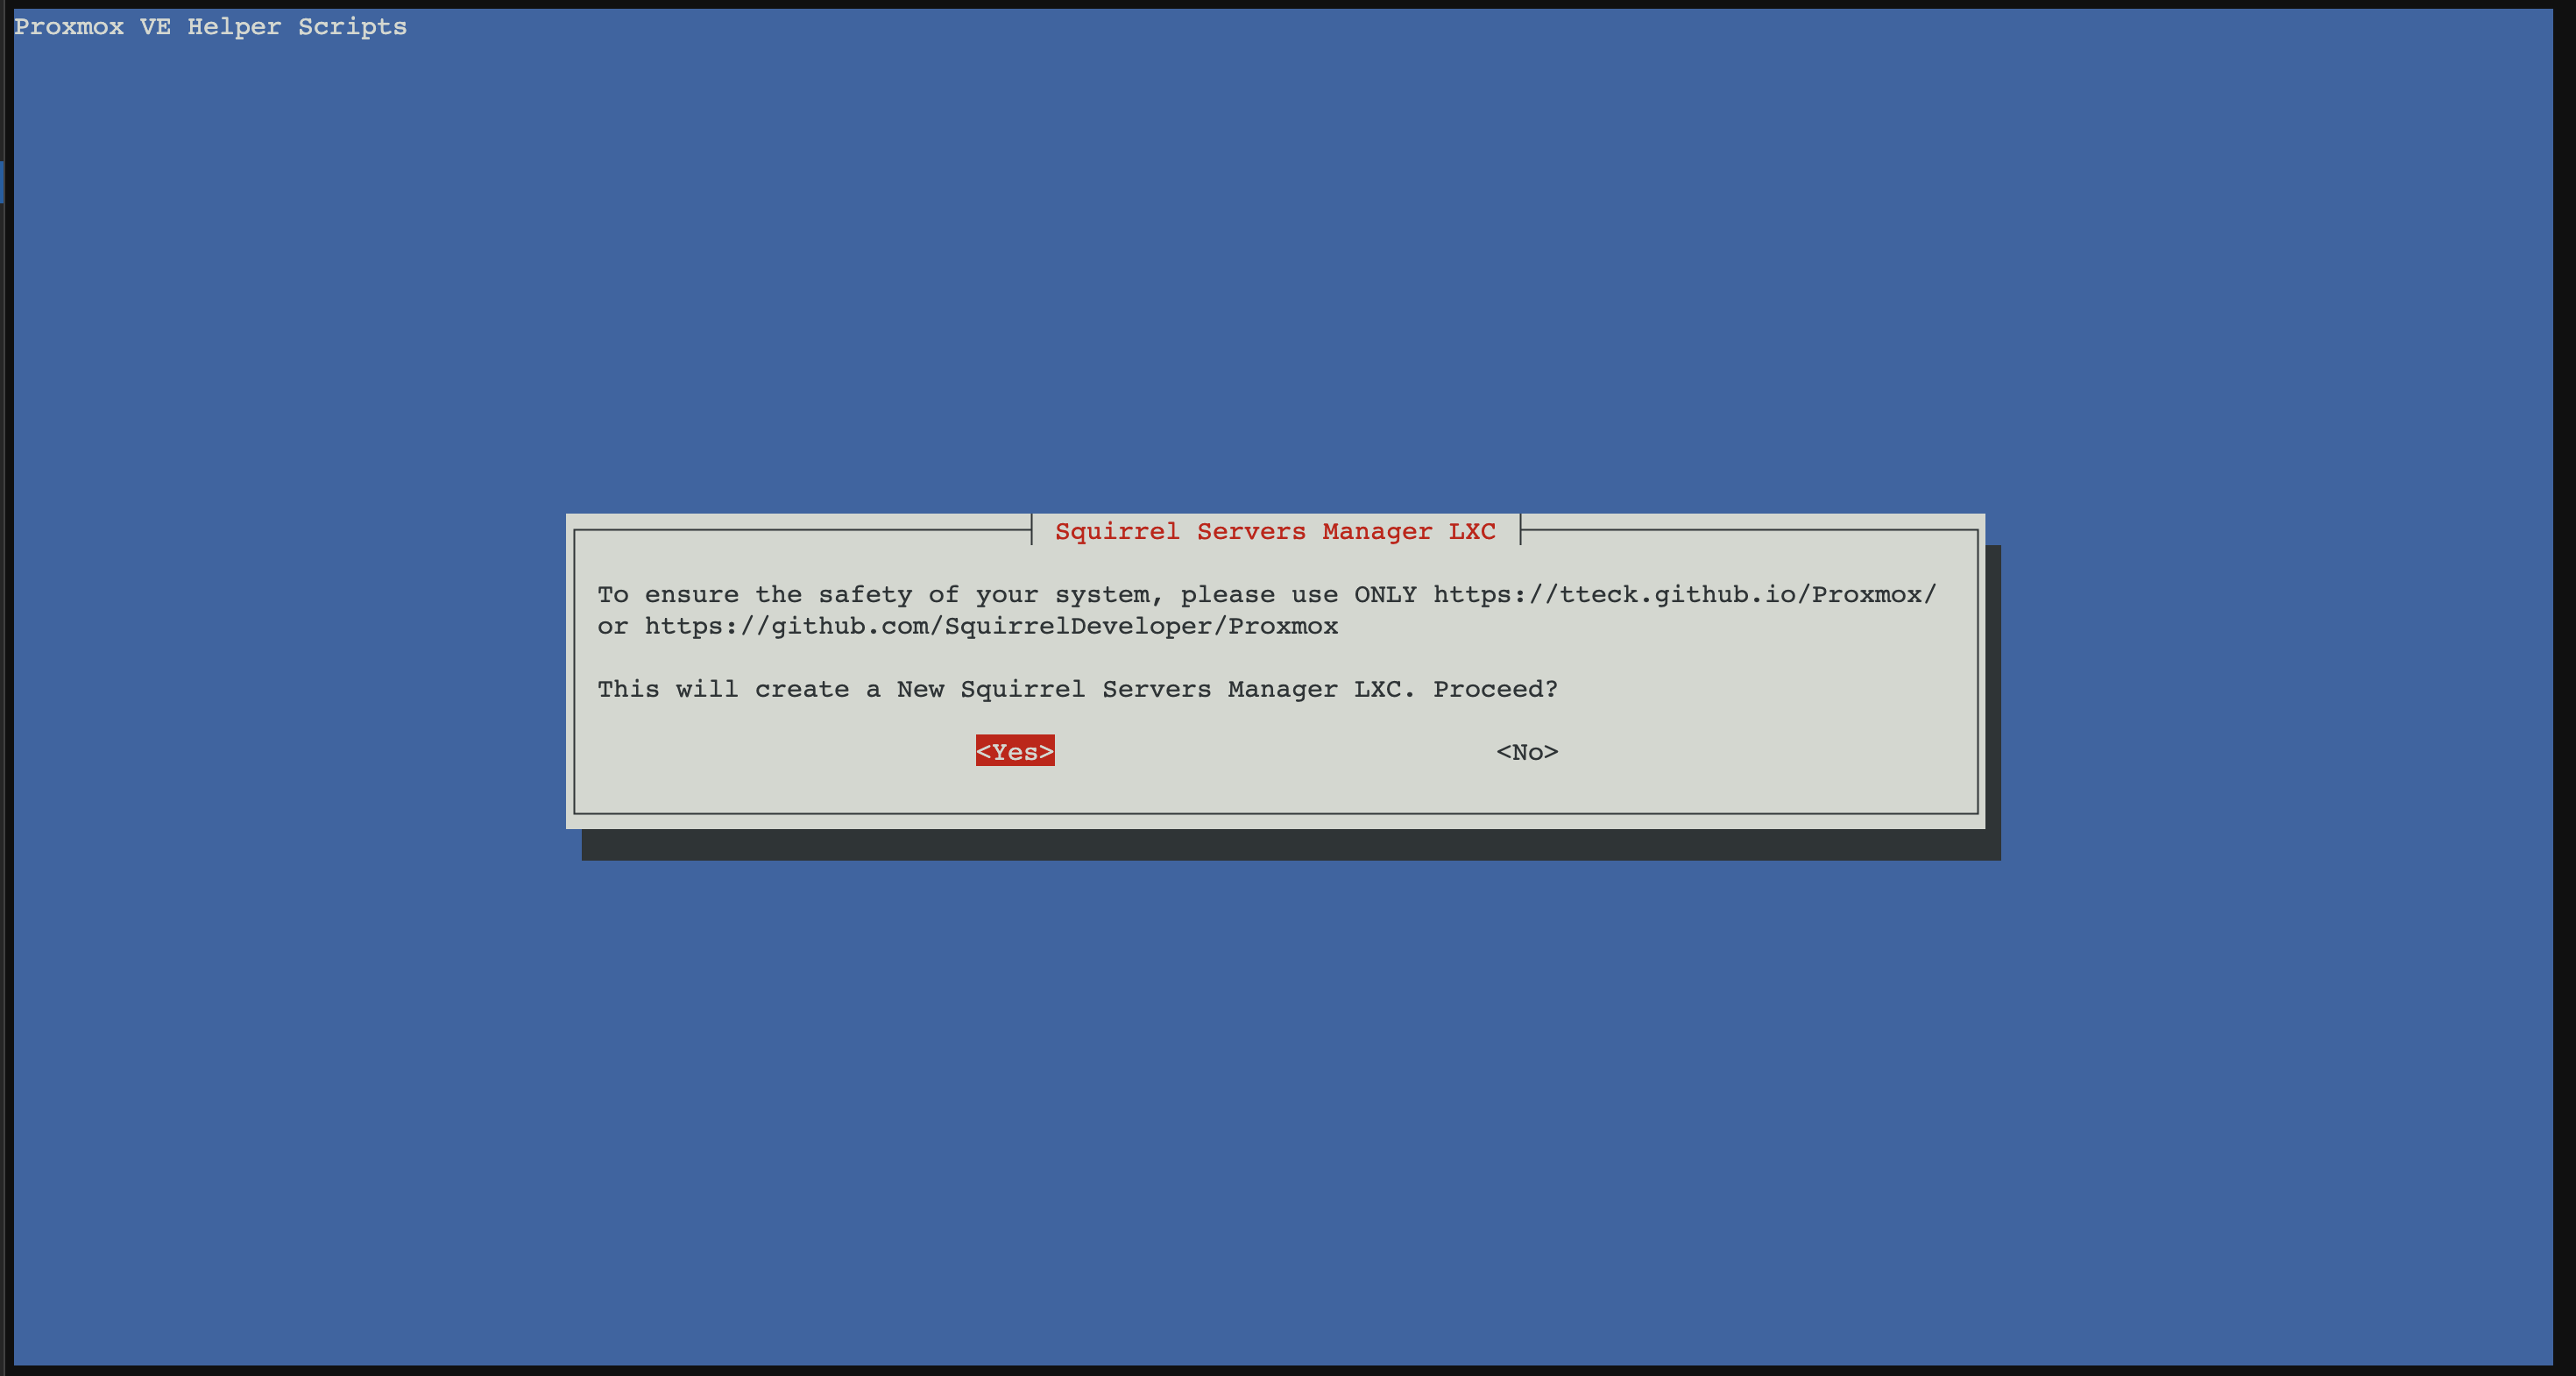
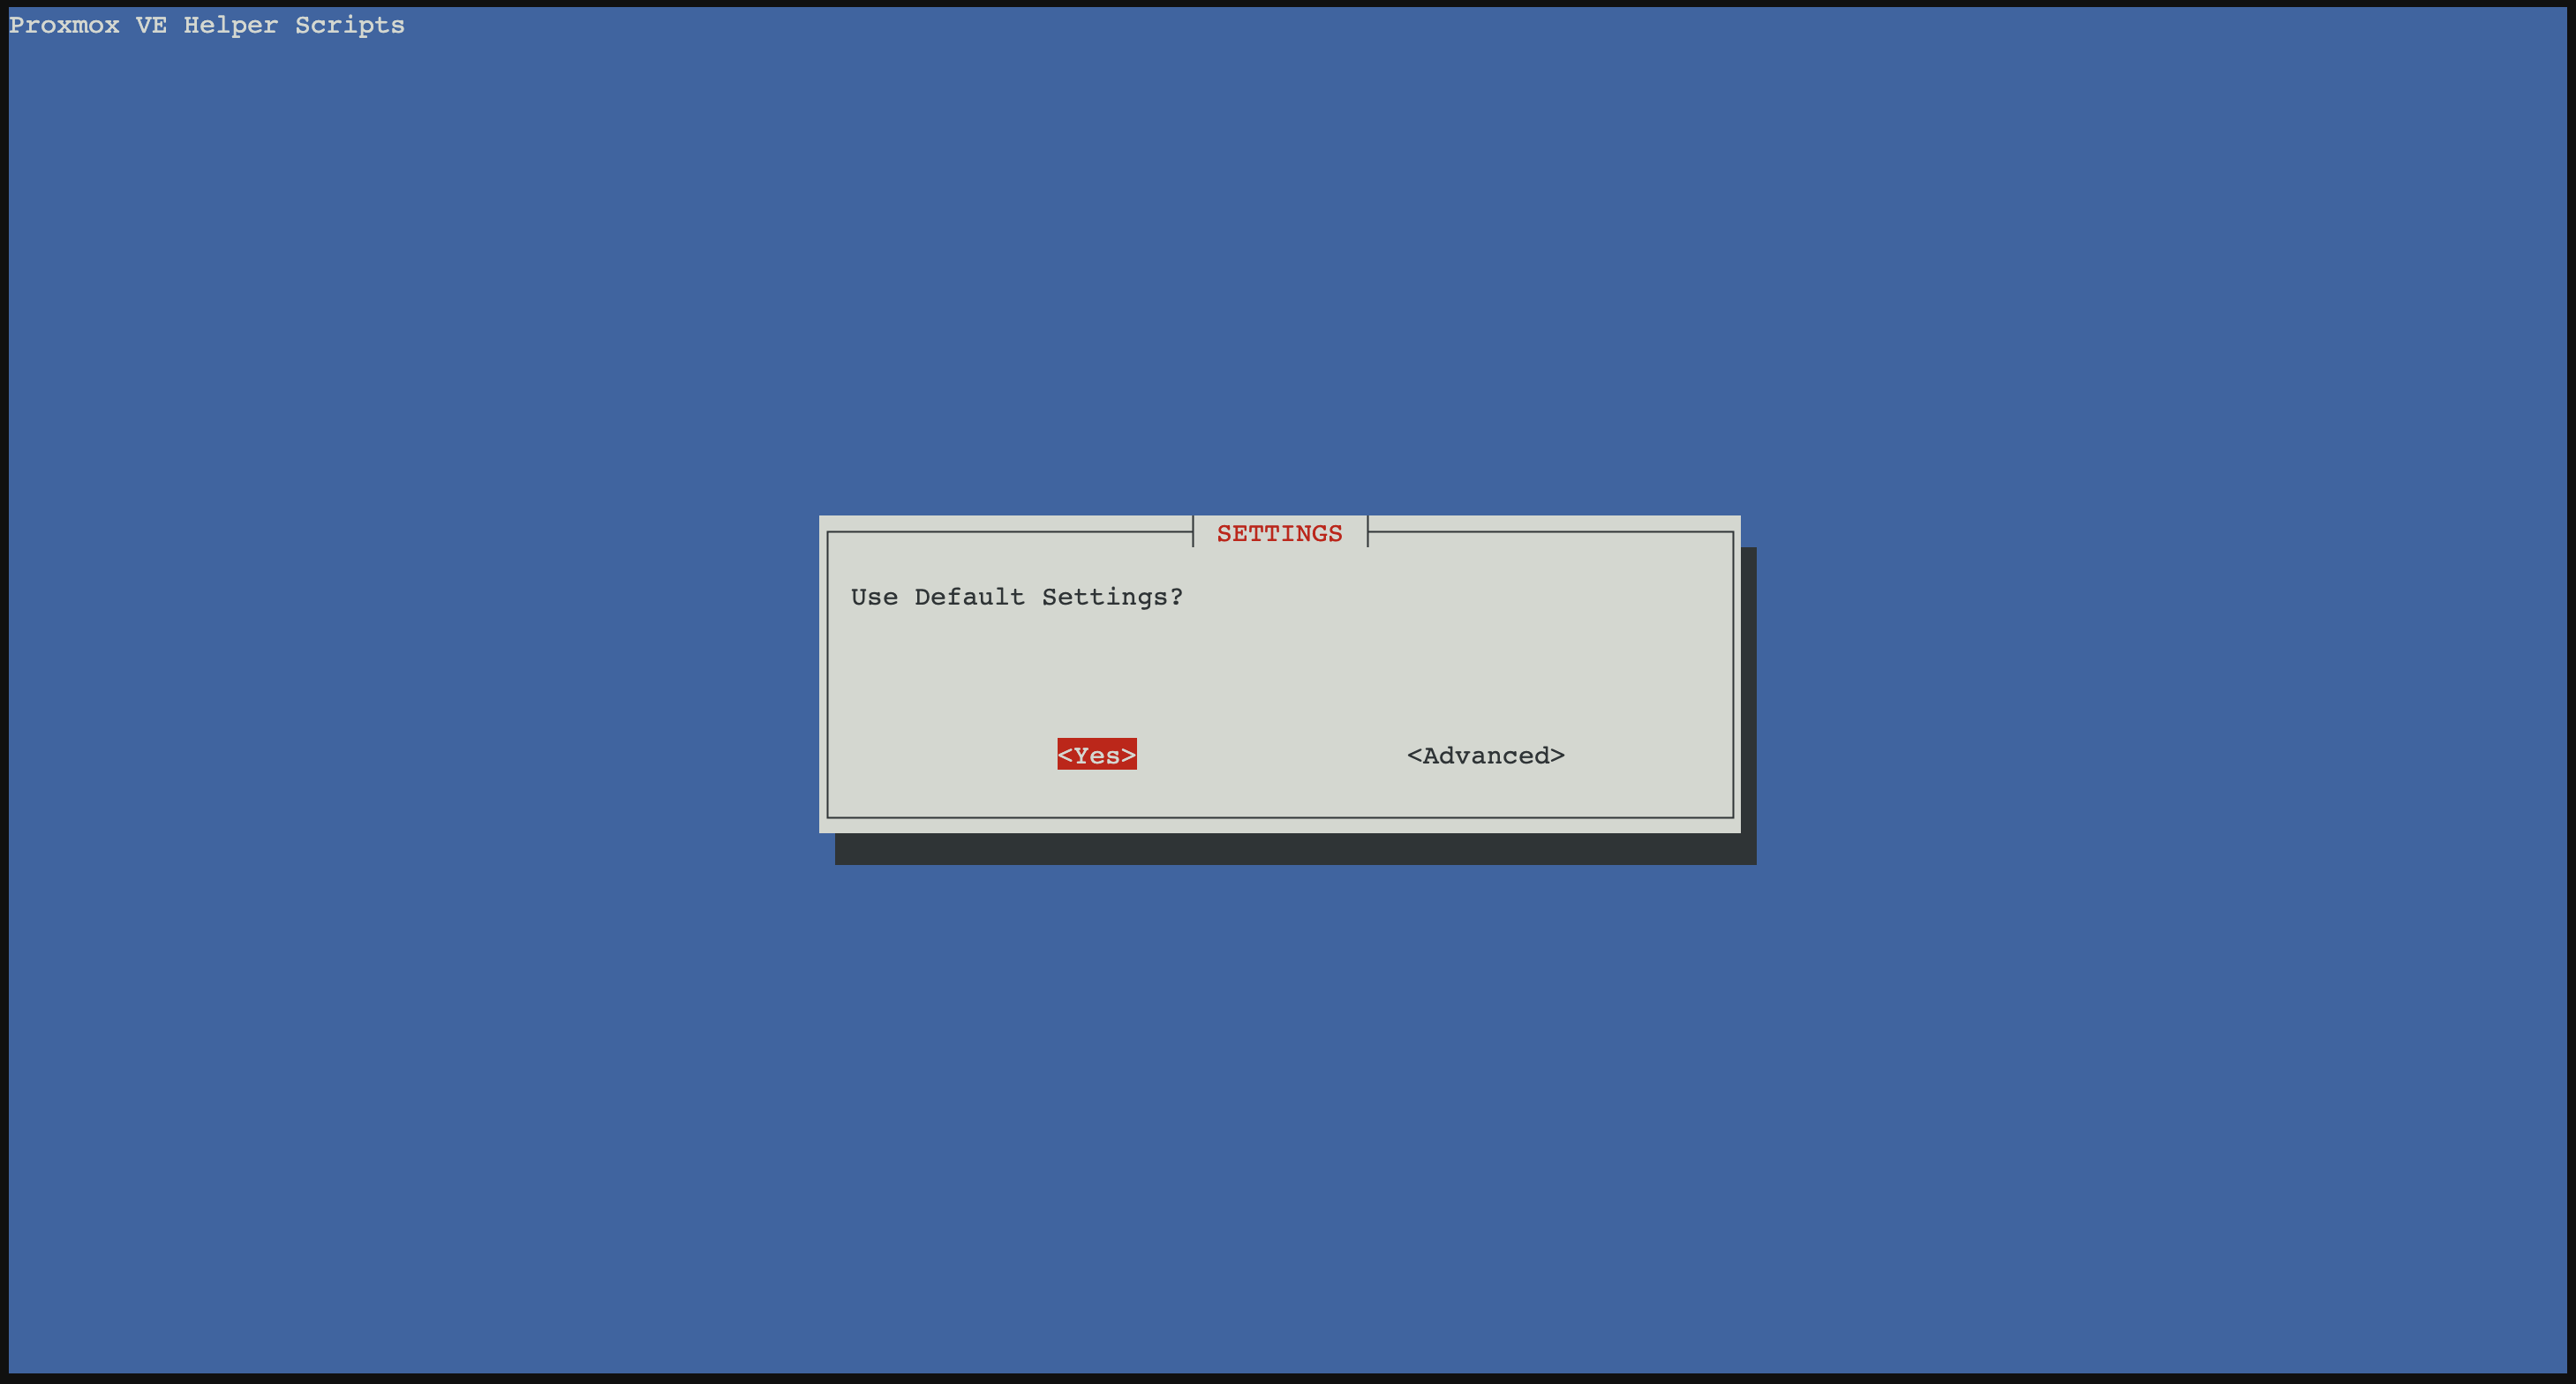
Here, you can either choose the default install (default is: 10G disk space, 2 CPUs, and 4096MB RAM) or customize the settings by selecting Advanced.
5. Installation Process
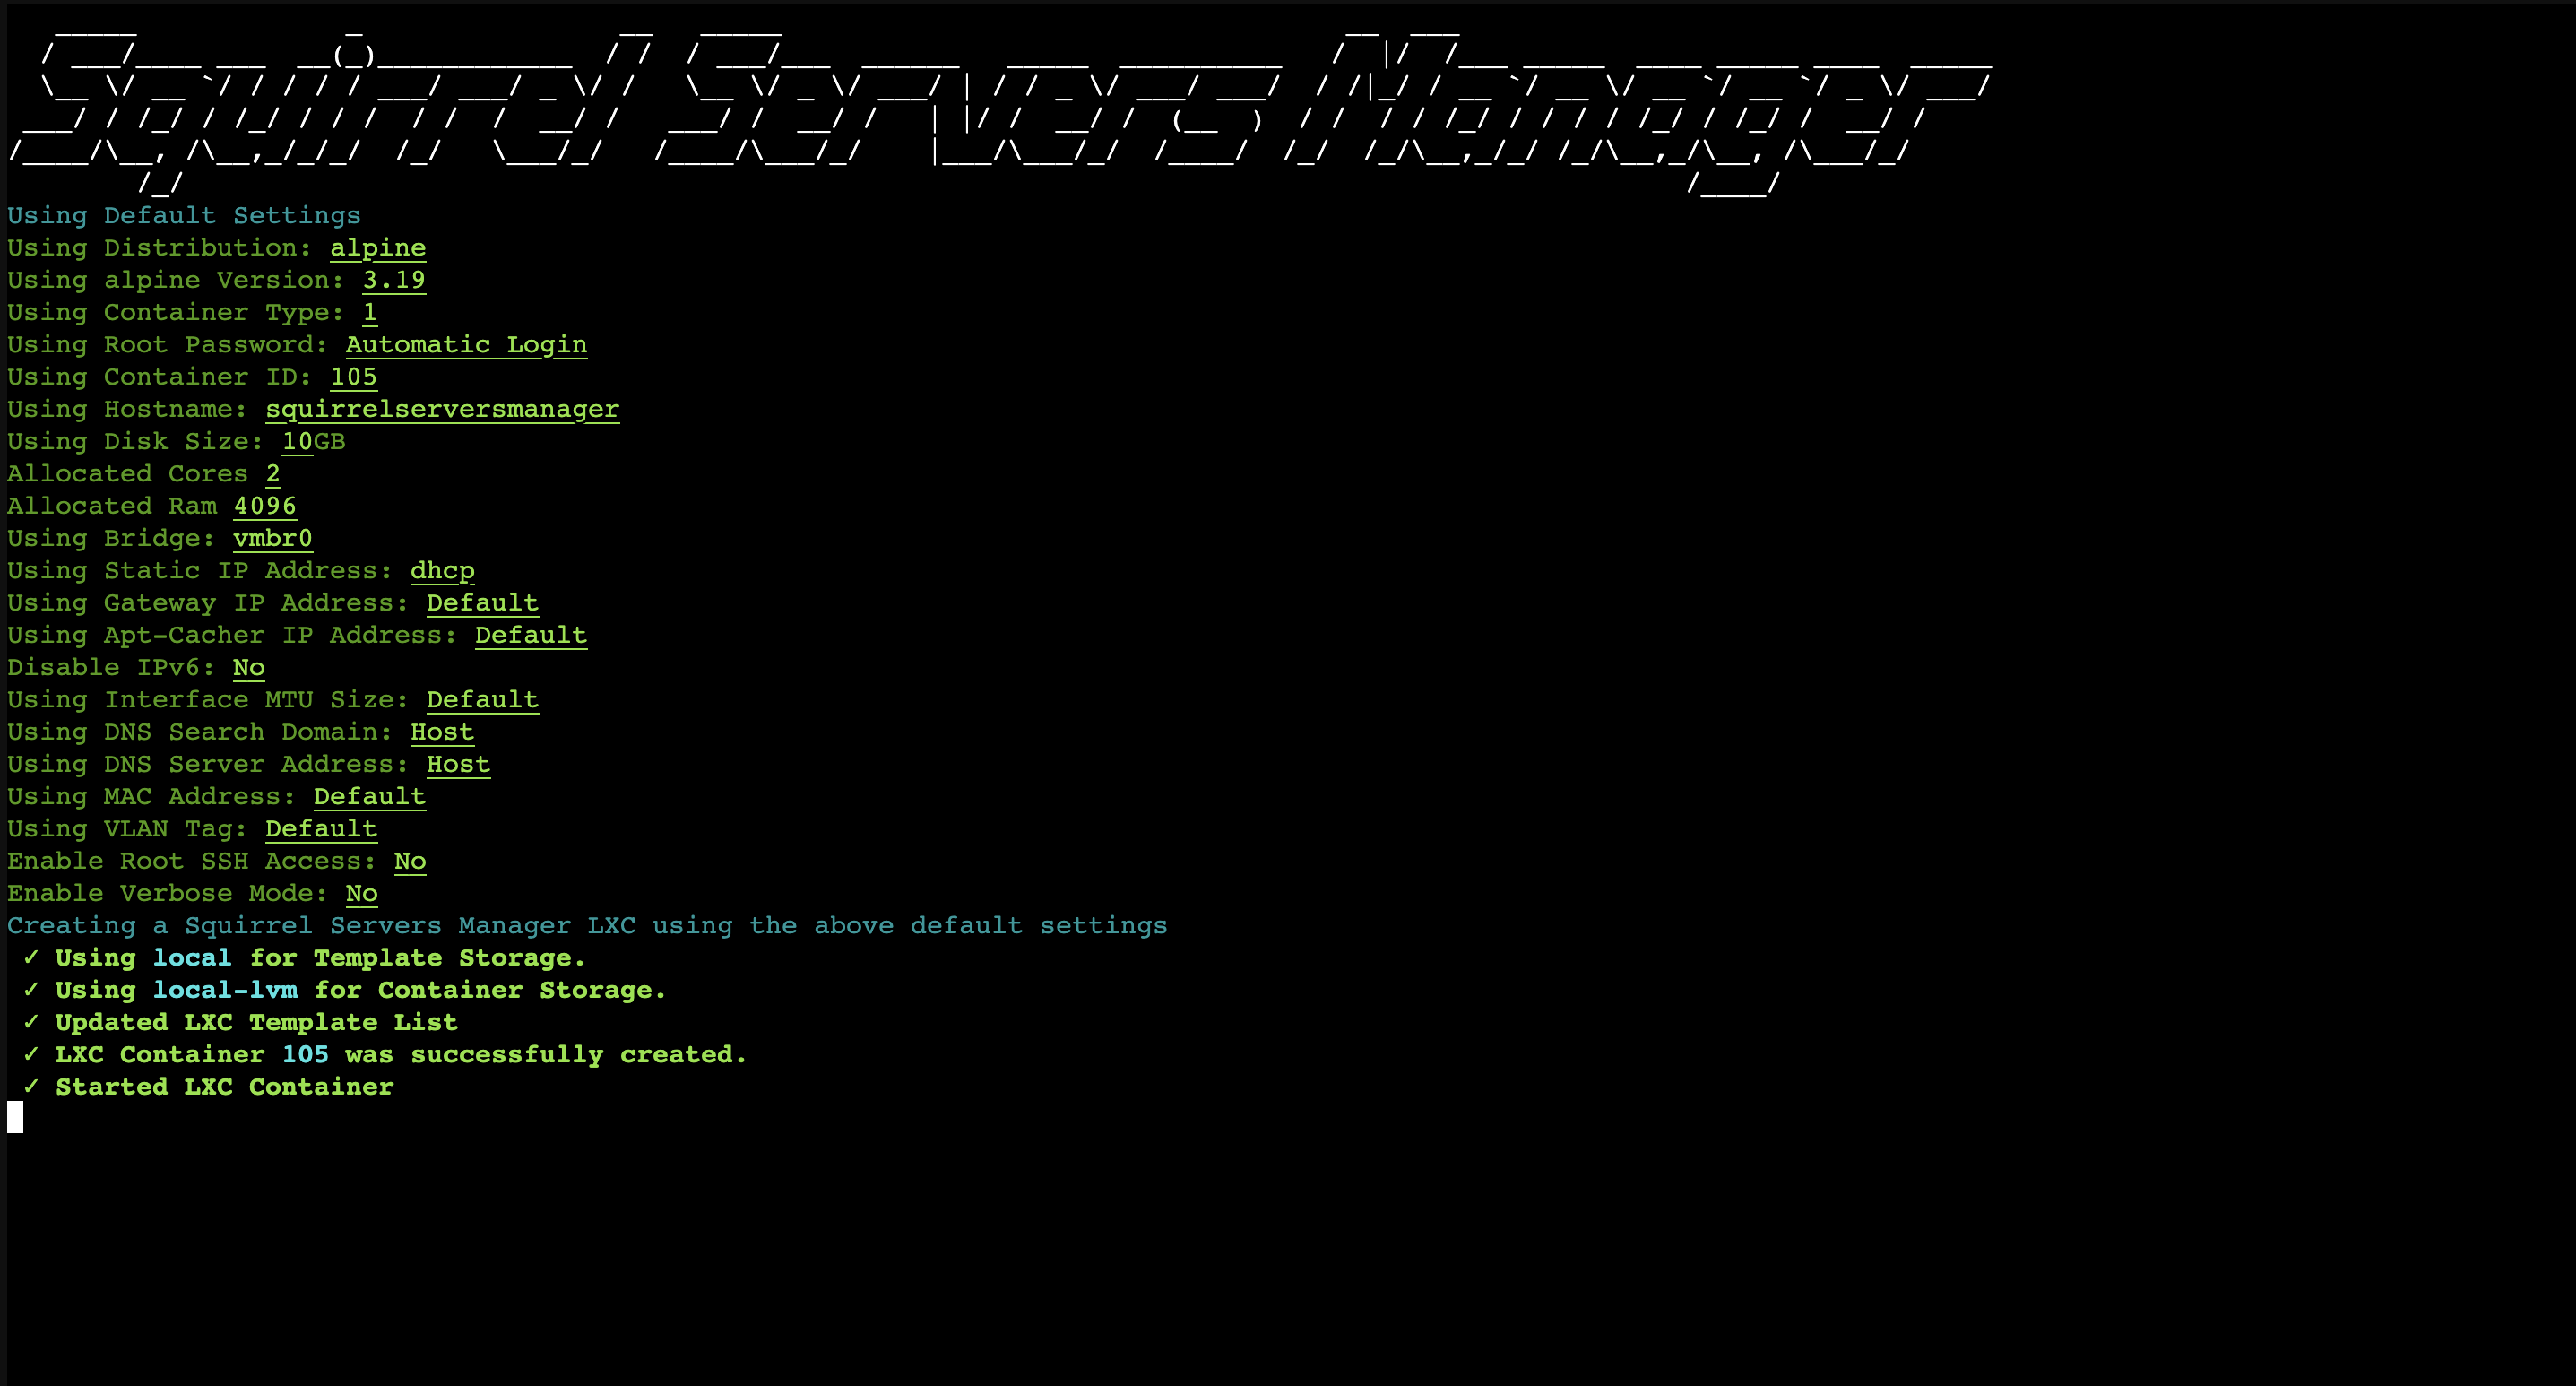 Wait several minutes until the script finishes the installation of SSM on a new LXC container. The process can be quite long.
6. Access the UI
When the installation is complete, you should see a message like this: 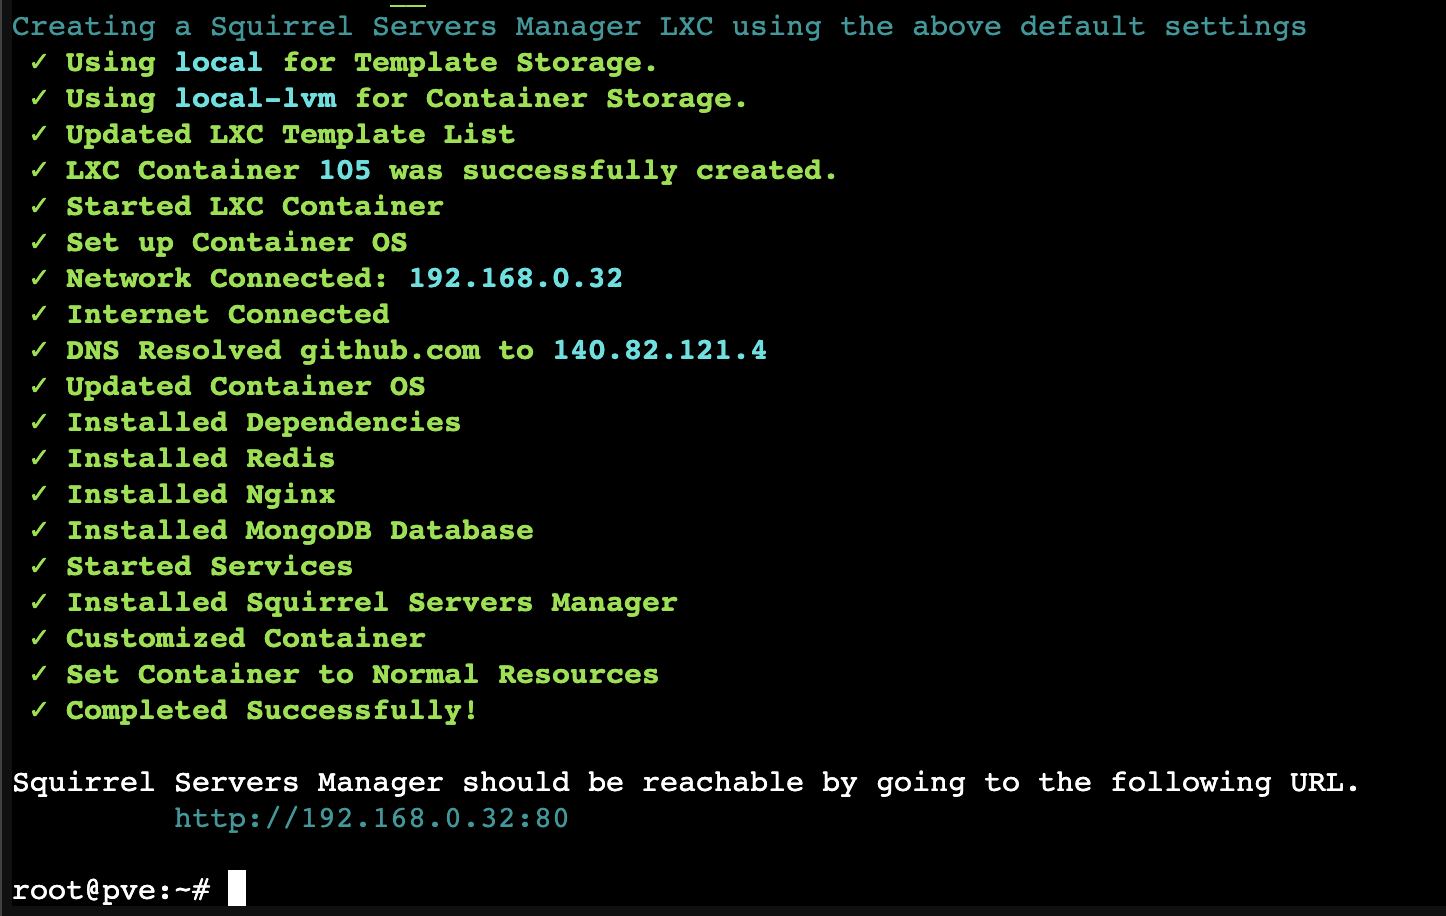 Access the UI by entering the provided address in your browser.