Adding a device
1. Inventory
To add a new device, you must first go to the inventory panel of the Configuration Section on the left menu 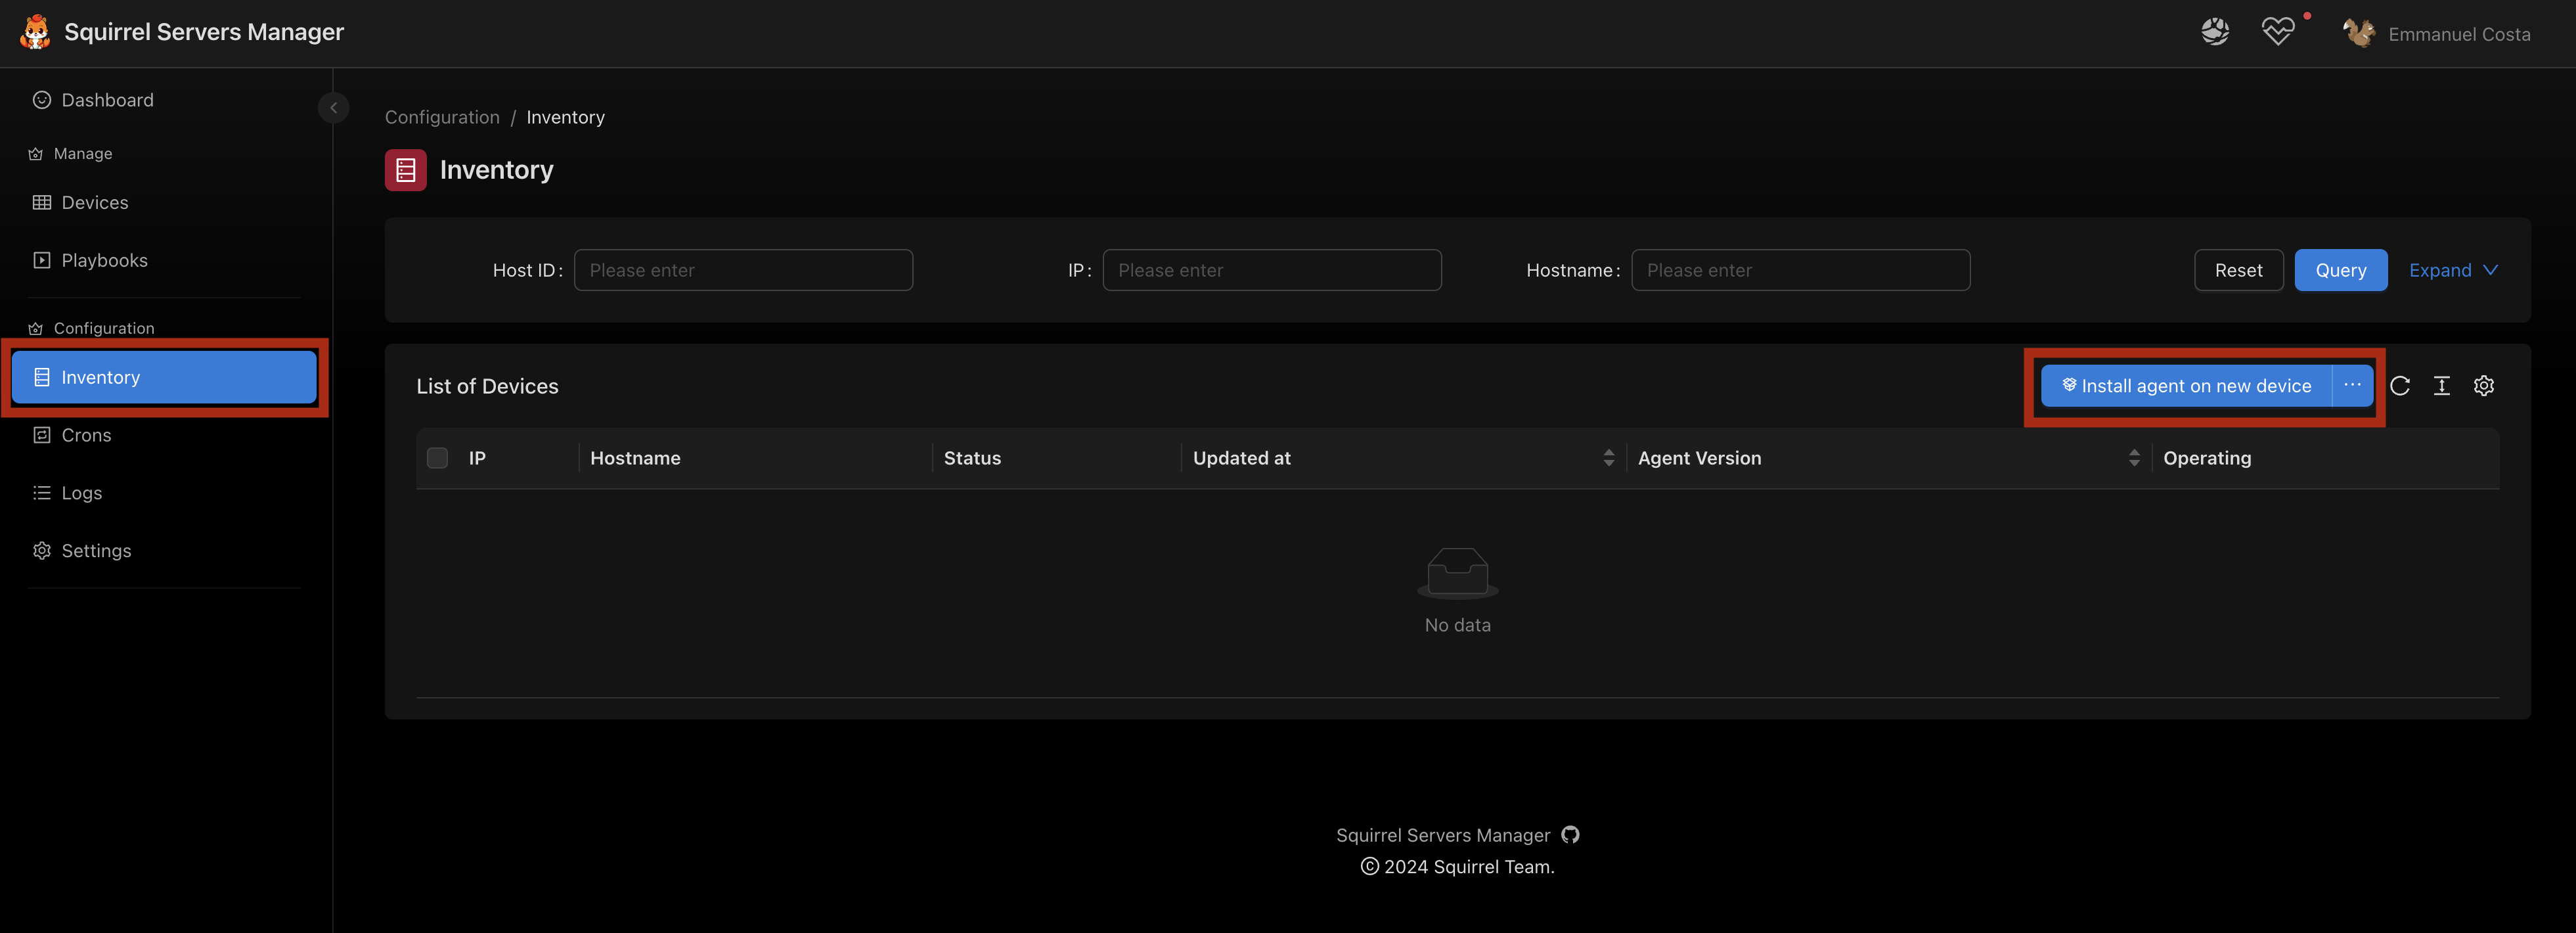
2. Adding a device: SSH connection screen
A modal will open. The first section is the SSH connection information 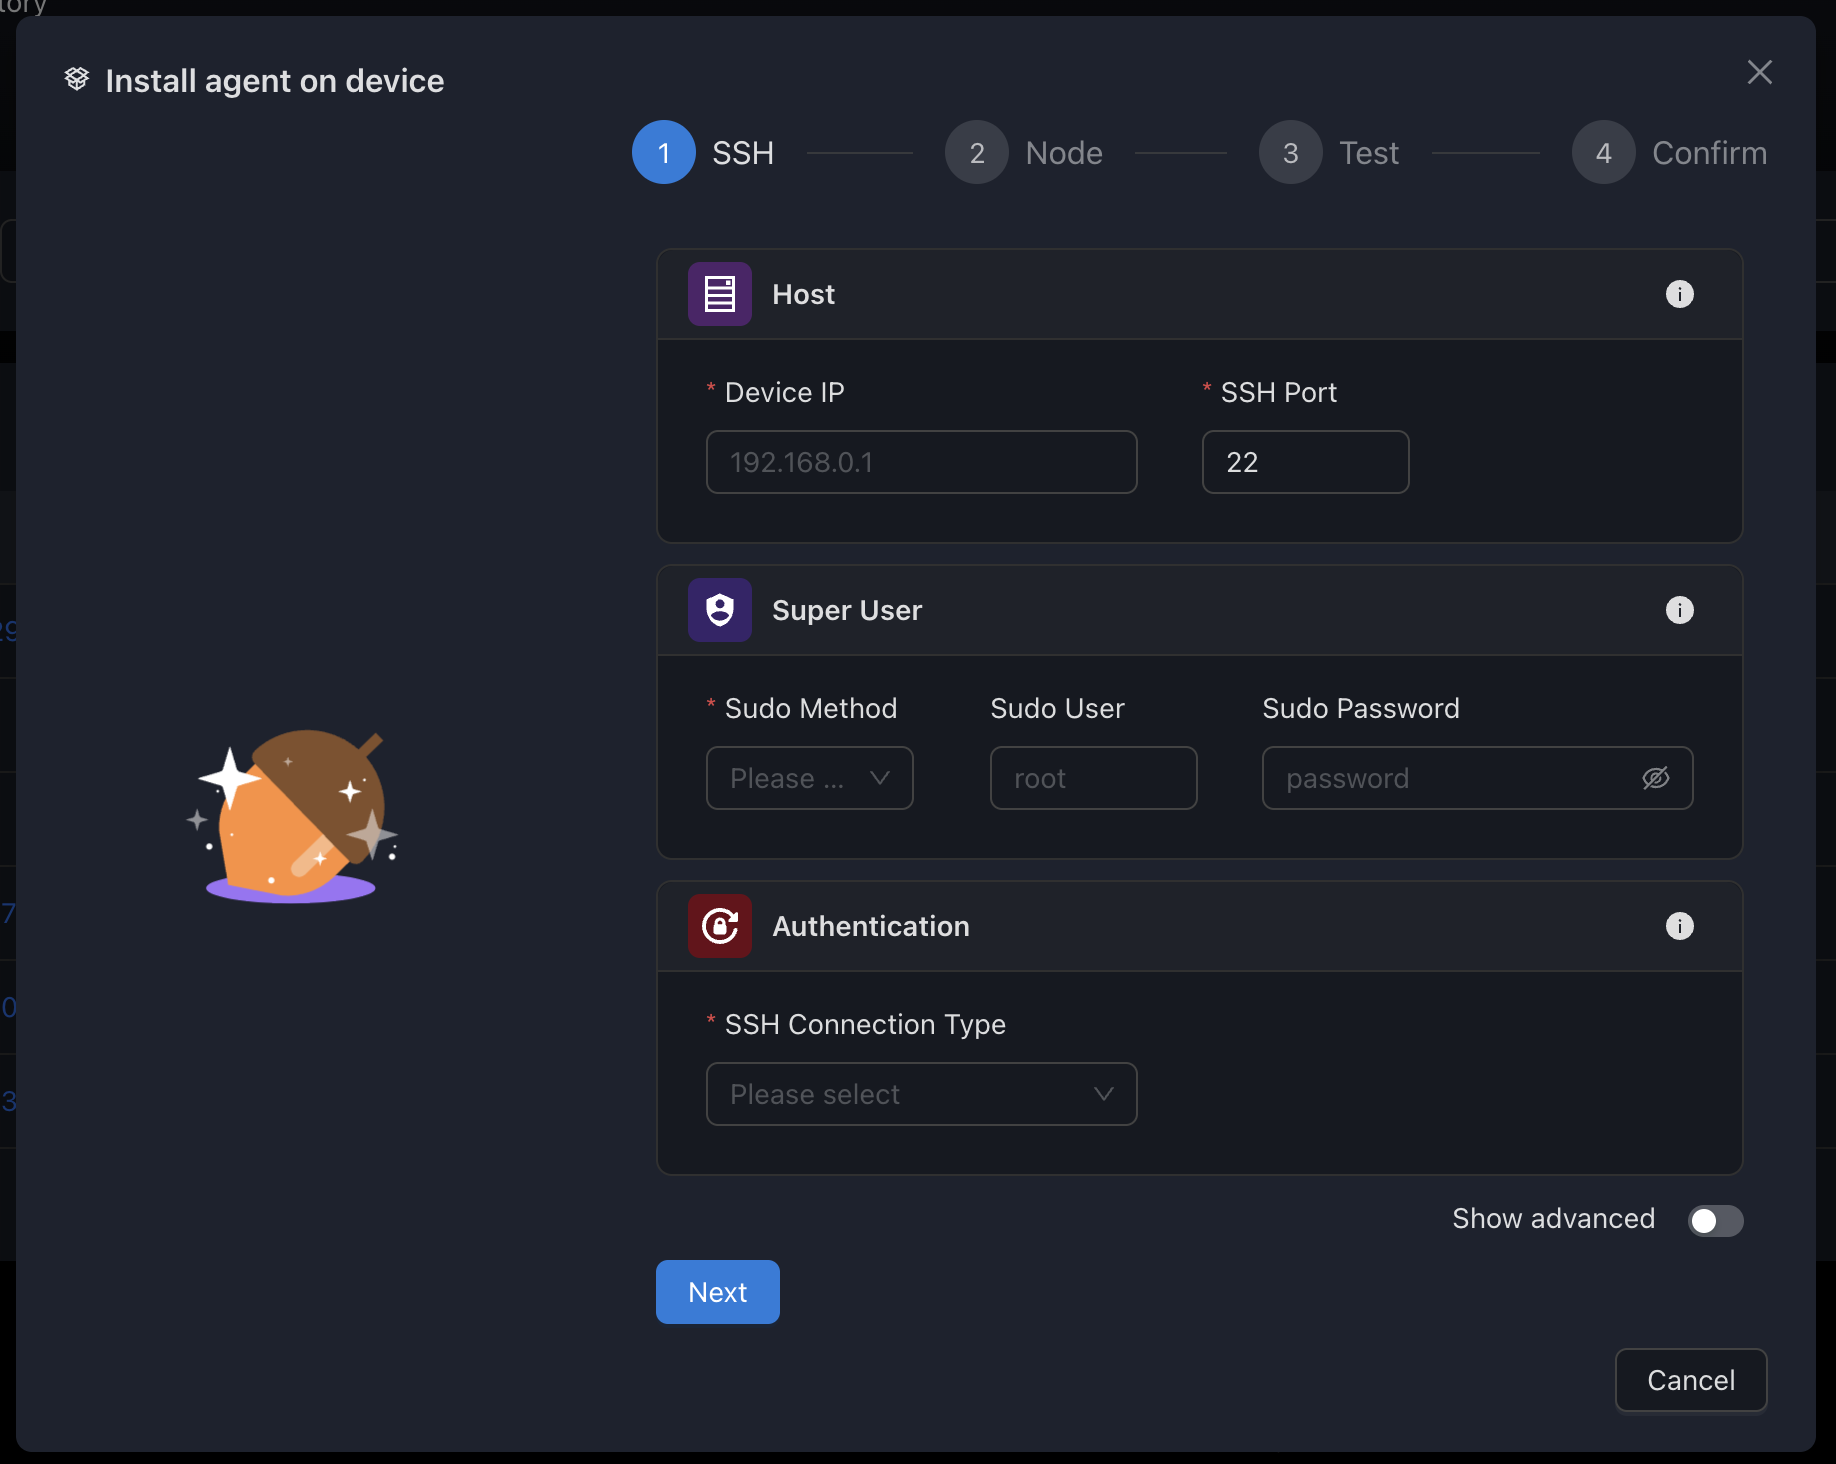
- Enter the SSH port, IP
- Enter the sudo method, and the optional user/password associated
- Select the SSH login type (User/password or key based)
3. Adding a device: Master Node URL screen
This section is automatically filled. You must ensure that the master node URL is correct and is reachable from the device you wish to add 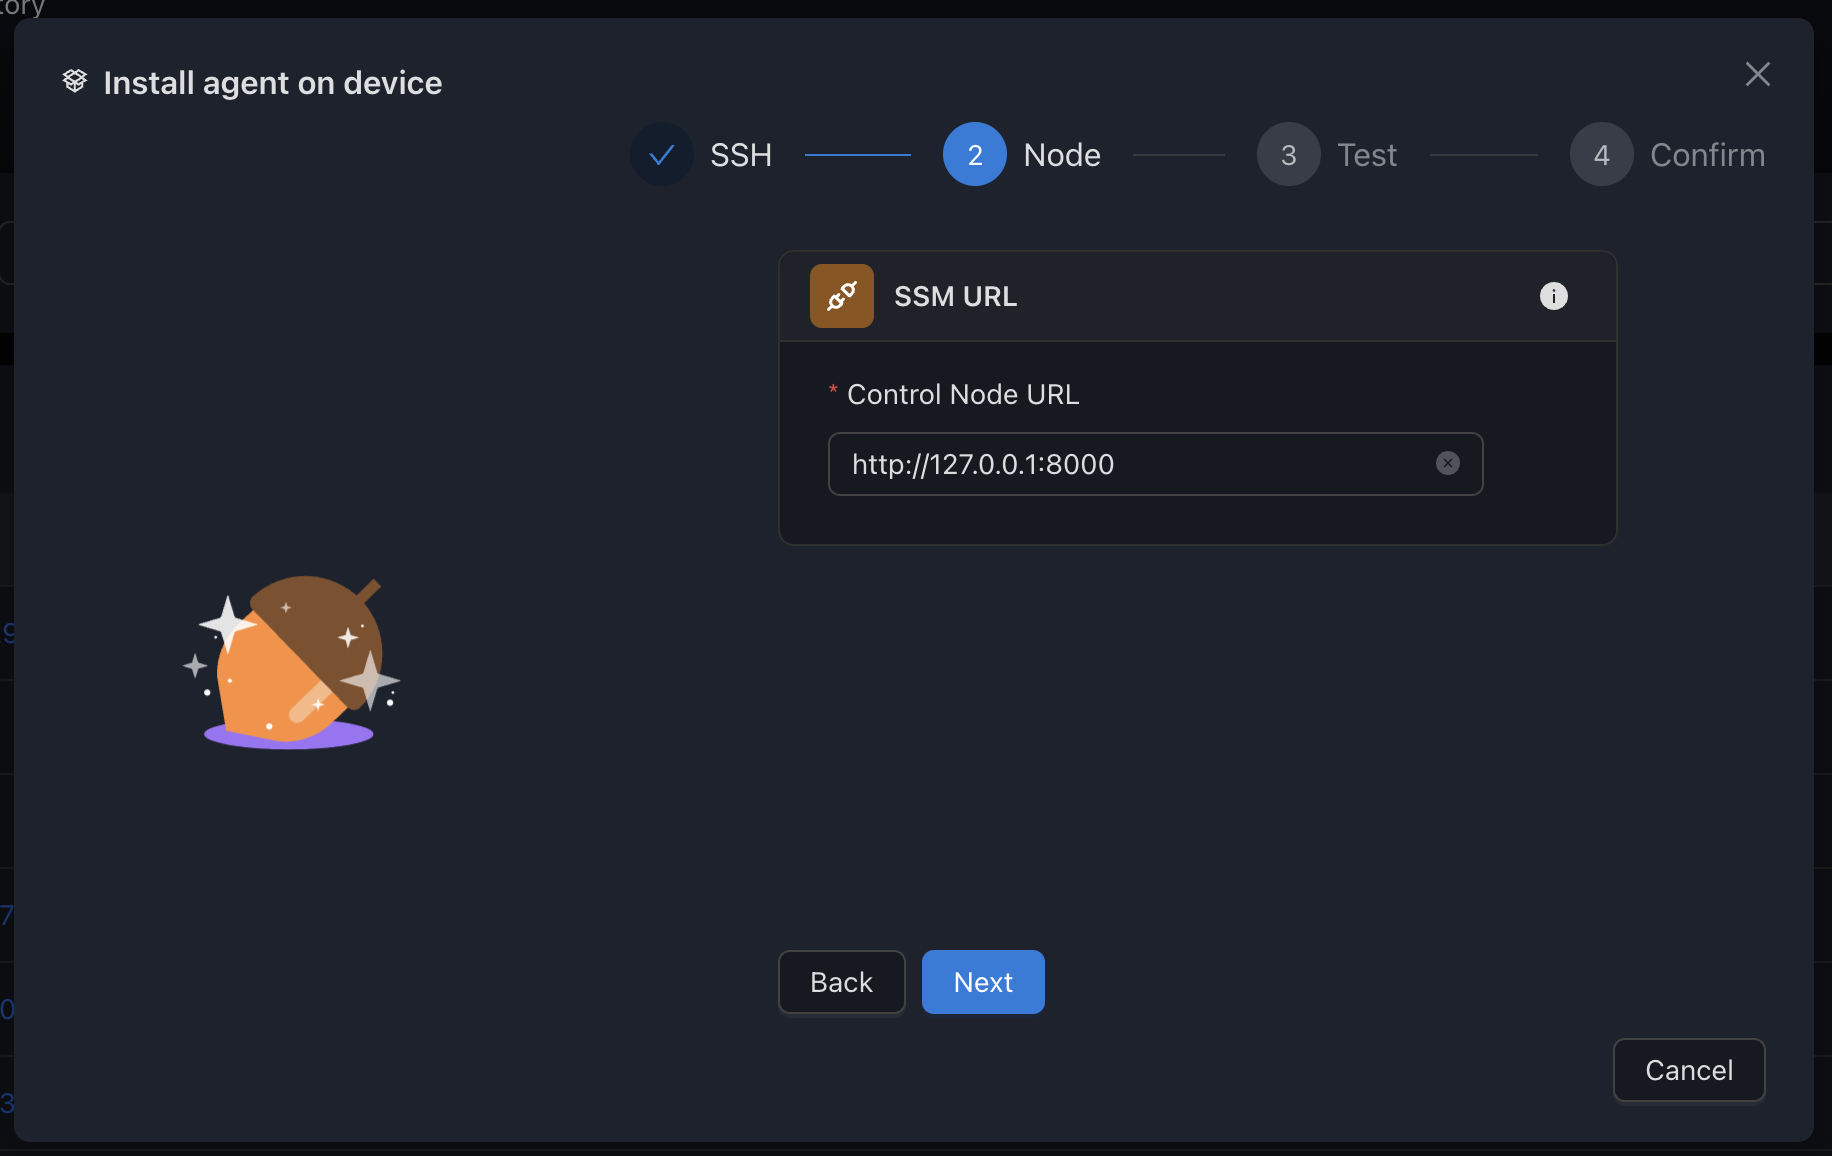 This URL will be shipped with the agent during install.
On the next screen, SSM will try to ping itself through this URL.
4. Test of the connections
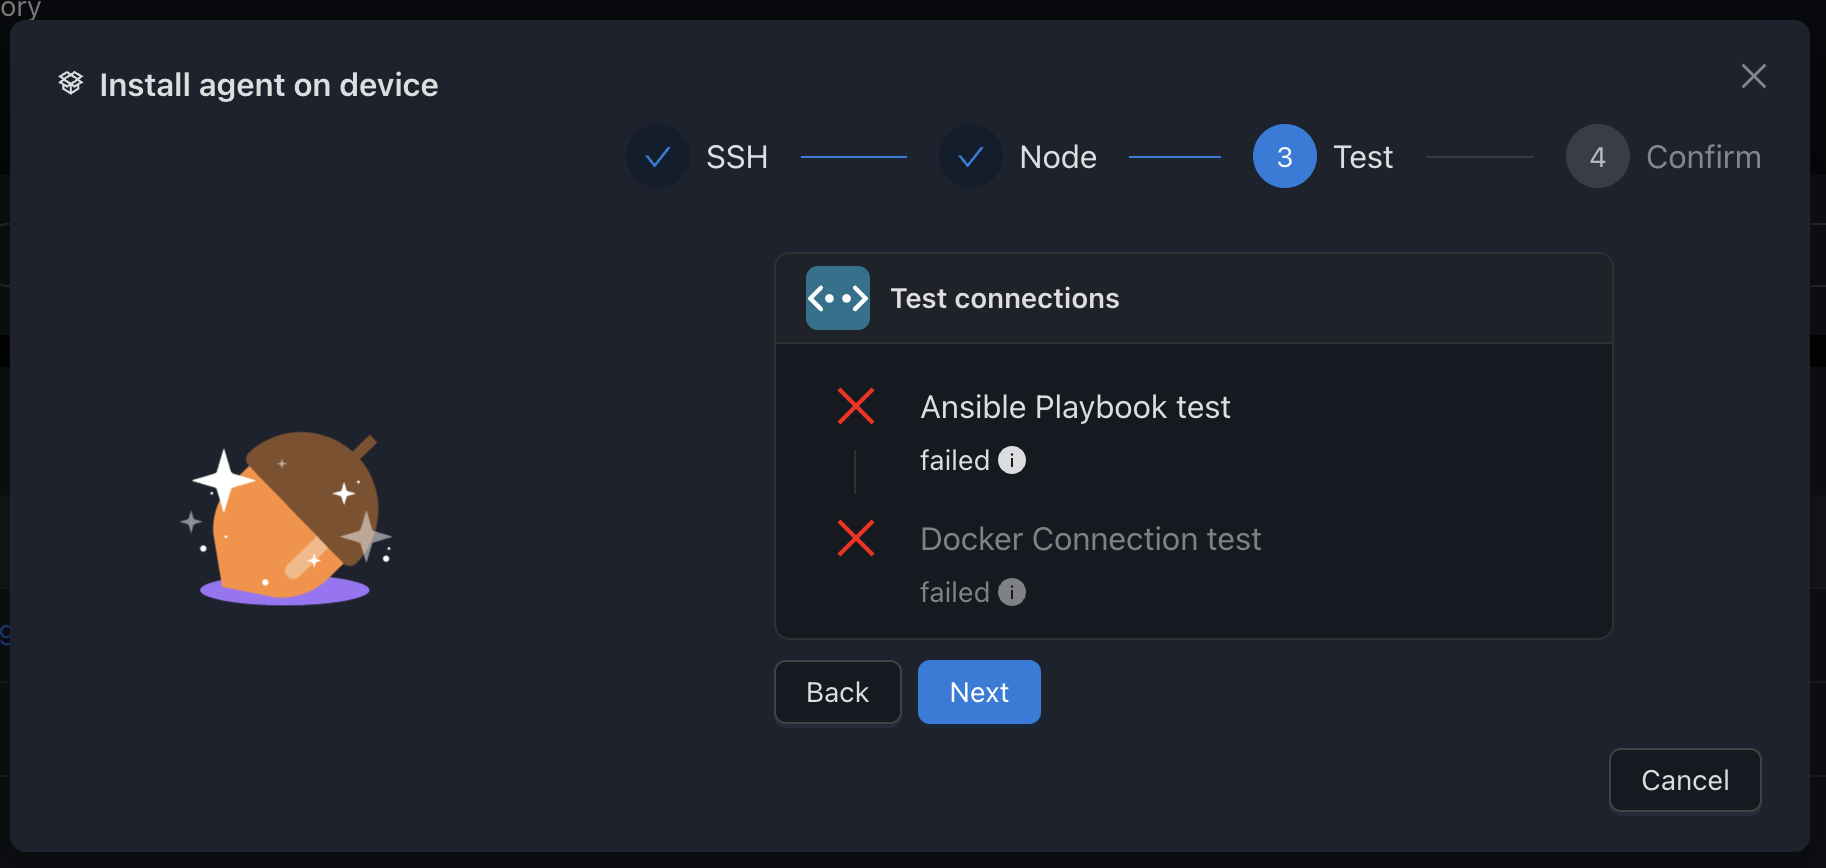 Ansible and Docker connections will automatically launched to test your previous inputs. Wait for the result and fix any problems that may occured. If you wish to use a different authentication for Docker, you can always later specifically the docker configuration (see Device Configuration)
5. Adding a device: Confirmation screen
 Check that all the information are correct and click on "Confirm & Install agent"
6. Behold! The magic of SSM
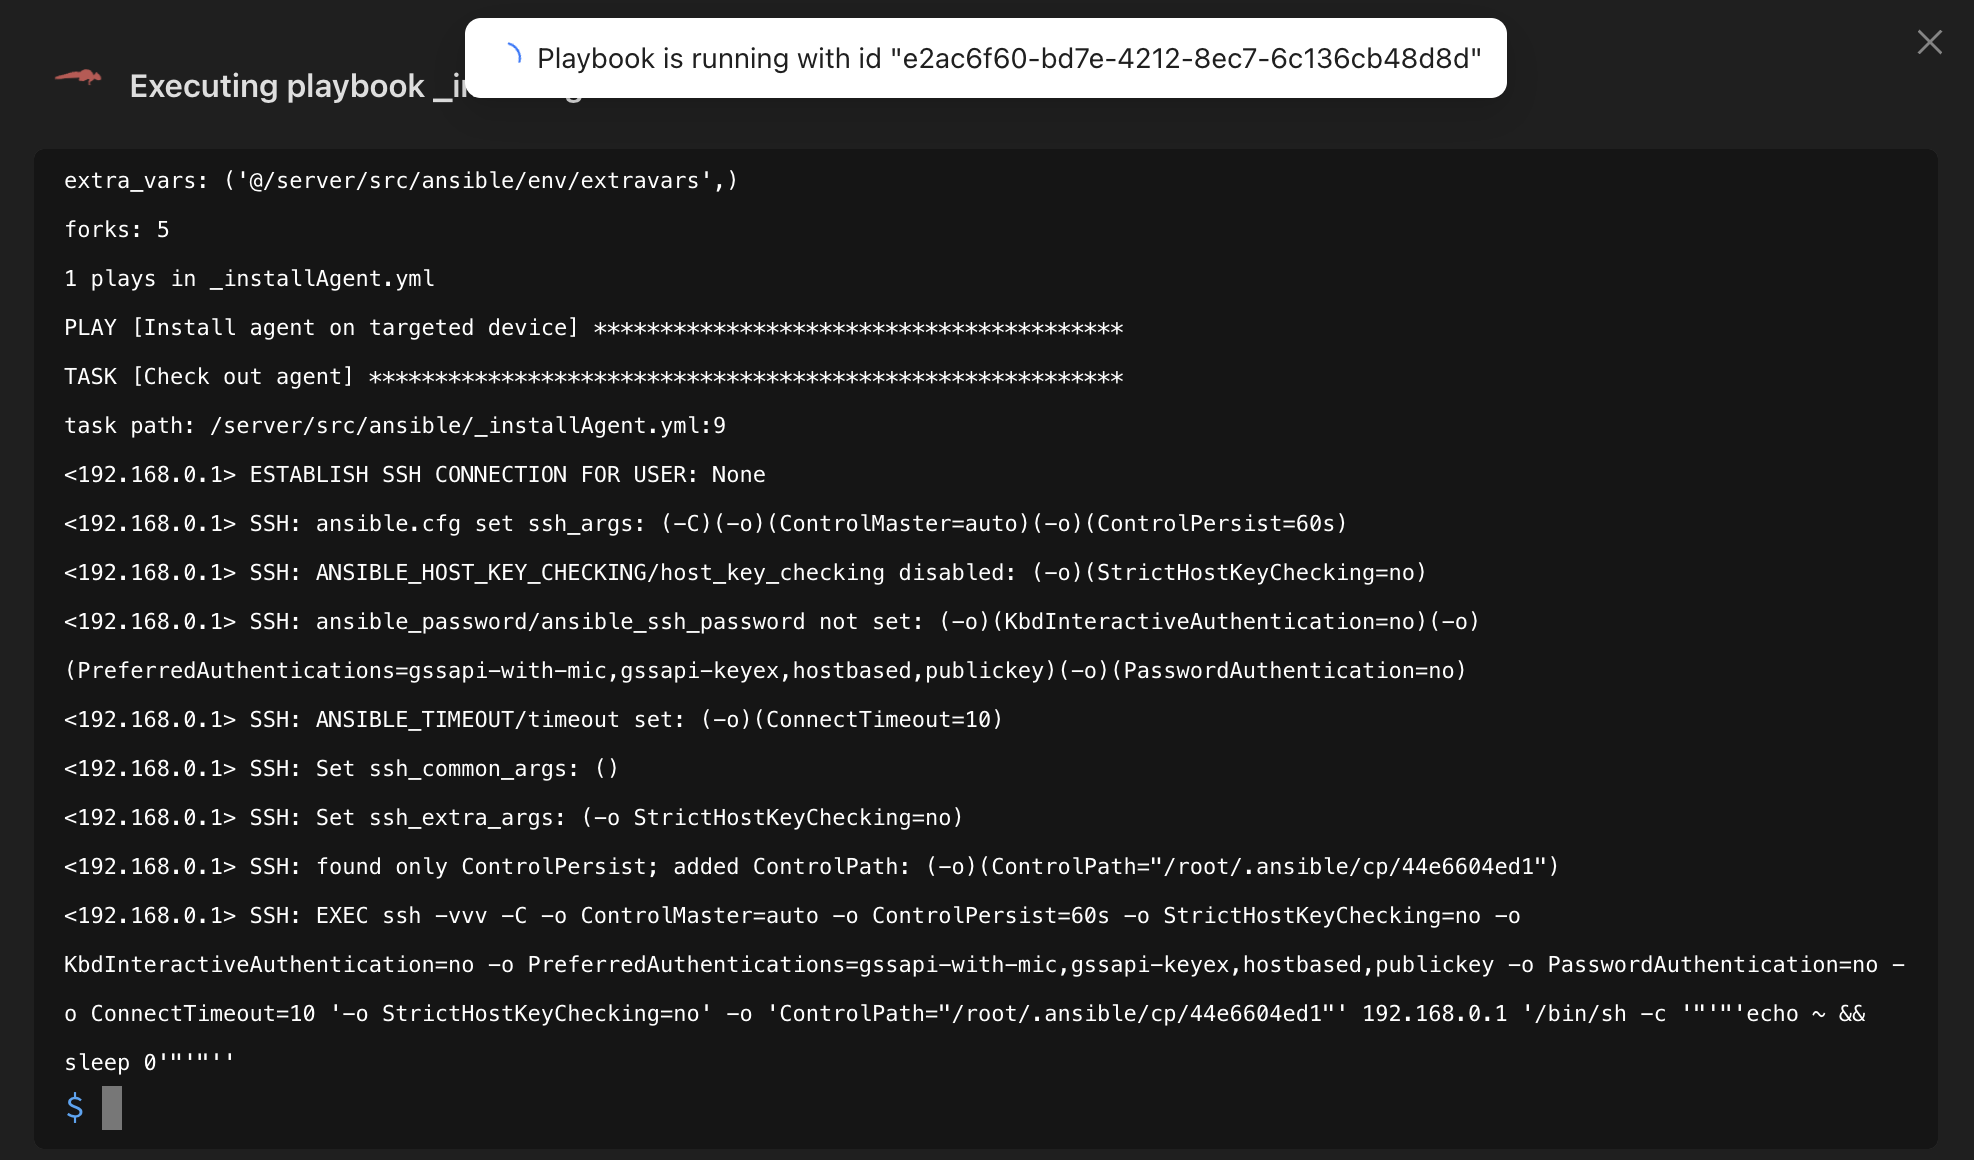 Follow the progress of Ansible installing the agent on your device
⚠️ Agent installation failed
Please be advised that regardless of the result of playbook's execution, the device has already been saved in the SSM database.
If the playbook result's execution failed, you must try to reinstall the agent by passing to "Inventory", choose your device, and to the right click on the bottom caret "▽" and click on "Reinstall Agent"